
You might remember this picture from one of our previous posts. When we bought the house, these white "pillars" were covered with baseboard.
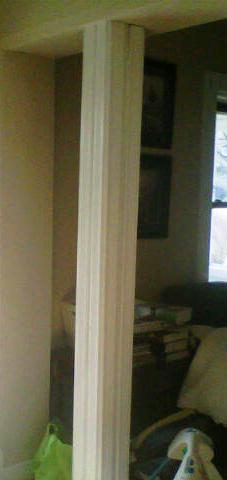
We had removed the baseboard, but left the ceiling alone for the time being. That is, until today.

The first thing we had to do was to identify where all the screws were that attached the plywood to the wood studs and supporting woodwork. My poor husband really had his work cut out for him on this project!

Once the screws were removed, he attempted to pry out the plywood pieces, uses a hammer and crowbar. Unfortunately, as you can see from the picture below, the hammer just up and quick!

However, we were not deterred and continued the slow and tedious process of removing the plywood. Not only did we have to remove a lot of screws, but we also had to strip out the drywall netting used for the top and side seems.

When the first piece was finally removed, it only made us more anxious to remove the rest.

We continued to work on it for a while, but then stopped for the night.

We probably could have kept going, but a slight mishap with the ladder resulted in a bruised and swollen ankle. My poor husband did quite a number on himself. But it was back to work bright and early today - but with some extra "help"!


Mommy was starting to get concerned about the safety of the little man, and so it was time to get some protective gear on. Daddy was more than happy to donate his. Thank you Daddy!

With master craftsman DJ giving a helping hand, the job seemed to go so much faster.
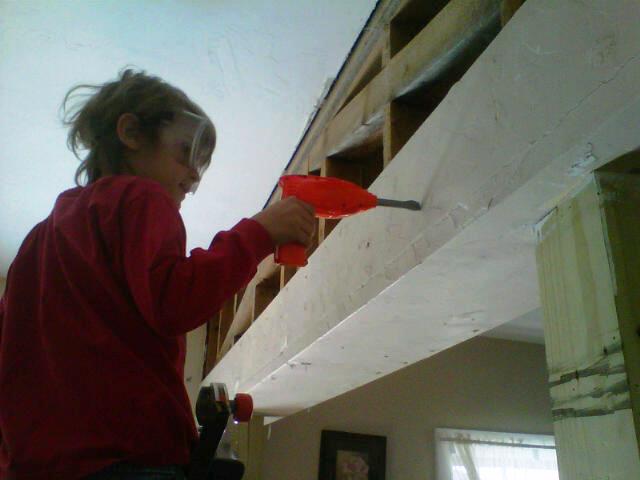
Not really, but he was so proud of being such a big "helper" working on the house with his Daddy!

And DJ taught us a few things too. This whole time, I thought those funny loops on blue jeans were called belt holders for a reason - such as holding your belt. But I have been corrected in the error of my thinking. Apparently, those are crucial for holding your necessary tools! Your pockets provide some additional holding capacity too.

It was surprising how many screws were used to install the plywood wall! And of course, they had to use two different types of screws, so my dear husband was always having to switch between a star bit and a phillips bit. It was my job to hand him the drill with the correct bit and collect the screws as he removed them. We managed to collect quite a few of them to use on other projects around the house.

Here is what it looks like now that it has been all deconstructed and cleaned up. I love the look of the beams and the amount of light that transfers from the dining room into the living room. It gives it a feeling of more space too.


Don't you think that it will make this space absolutely stunning! I do. :-)
No comments:
Post a Comment