Large & Small Windows
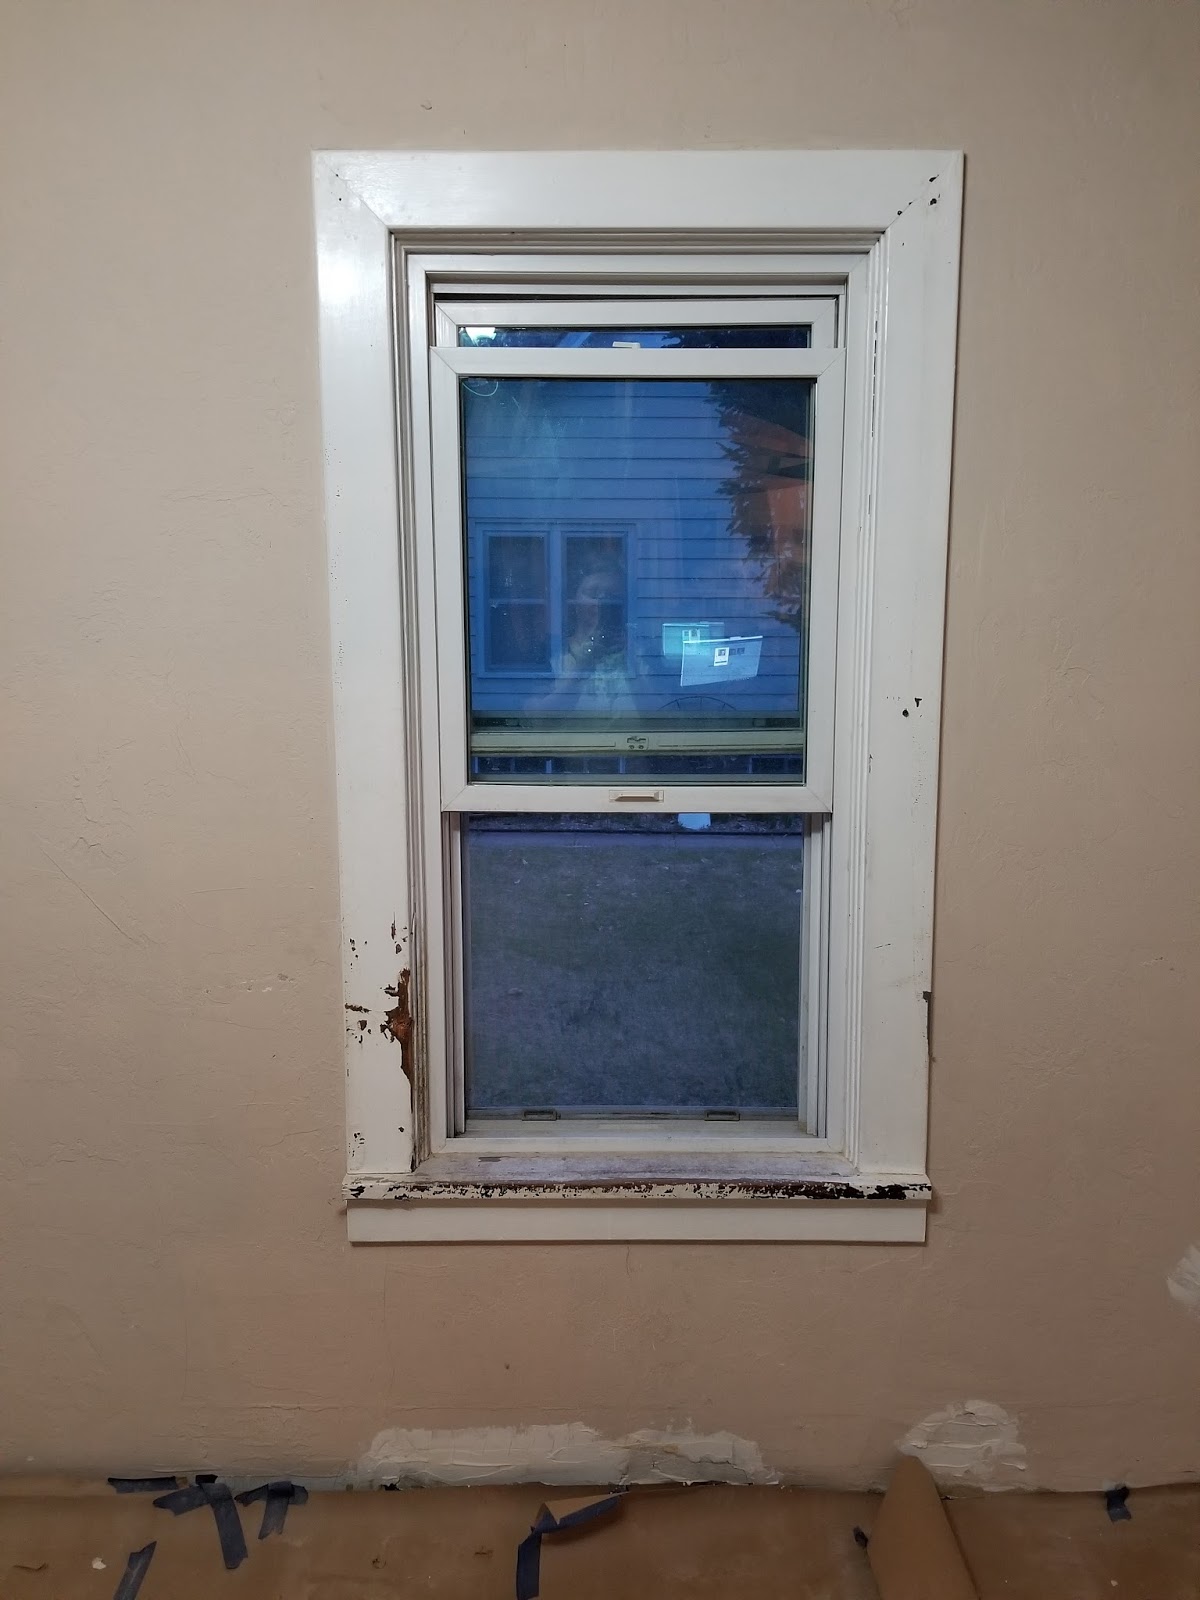
The living room has two windows. The first window is a very large one looking outside the front porch of the home. We plan on eventually replacing all of the windows with period style reproductions, but in the meantime, we are working on the trim. I just wanted to explain why one window looks wood (originally installed in 1950-1960) and one is plastic vinyl (originally installed in 1990s). Here is what what we started with:


We finally got as much of the paint as humanly possible off the window frame. We lost an entire corner on the upper right in the process. We repaired this using a wood putty mixture.

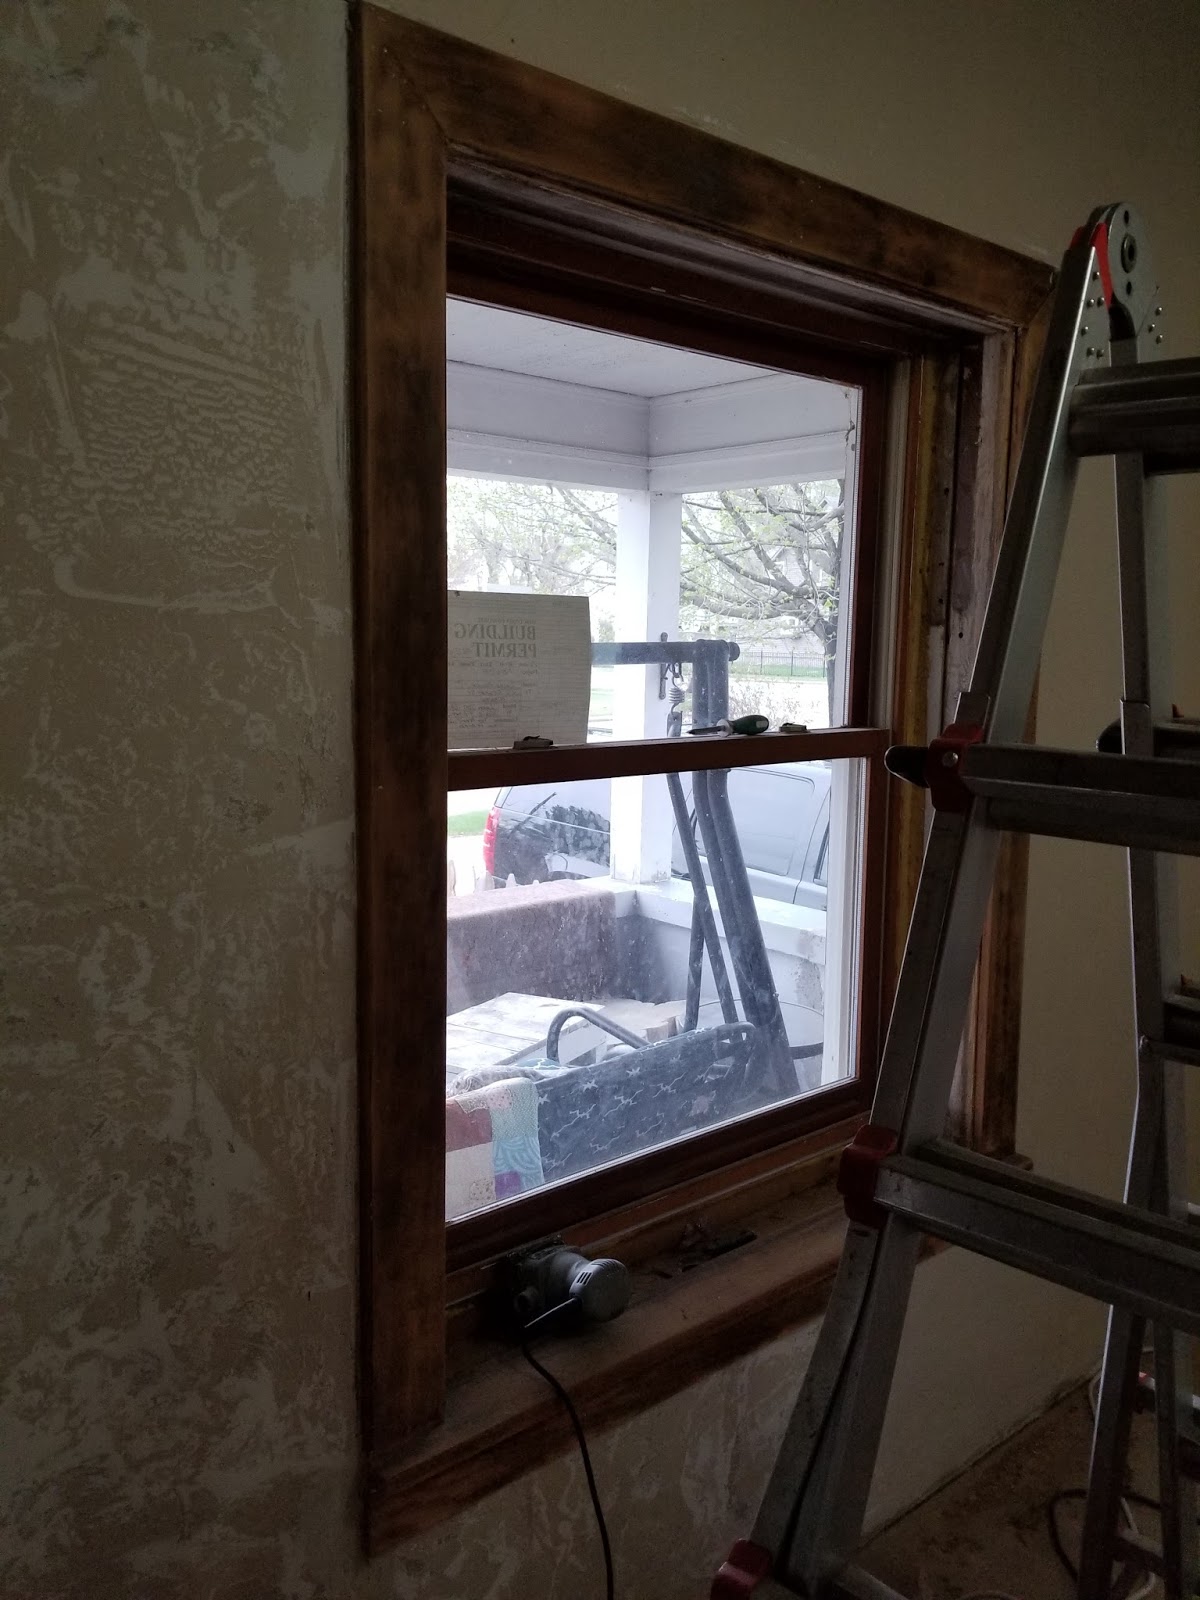

We then had to repeat the entire process with the second, smaller window. That took almost as long as the first window. The interior of the smaller window was made up of four different pieces of wood, one of which was a curved, decorative type of molding. Sanding that was a real chore. Here is where we started.


Repairing the Walls
Another fun project this week included working on the over-textured walls. A while back, my husband had slipped on the ladder and broke off a large chunk of the original lath and plaster. Repairing that hole took a few days to accomplish. First, I had to install new laths.


Finally, we opted to paint the lower half of the room a warm chocolate pudding brown from the Behr classic collection called Library Leather. With the Tuscany style texture, it actually does look like leather. We are very happy with our choice. We have yet to decide what color to paint the top half.

We have opted to install a nice thick insulation between the ceiling/floor joists on the main floor. We are doing this for a few reasons. First, the sound echoes through our house like crazy! You can hear every sound, cough, sneeze, and snore through the ceilings. It drives me crazy!
Second, our budget bill for heating and cooling this house is insane - as in excess of $300 per month. We do not have central air (yet) and we want to make the home as efficient as possible.
And finally, we are planning on installing tin ceilings on the main floor. Tin is a very noise conducting material (see point number one above) and we do not want to amplify the noises from upstairs. Hence, the insulation. My husband decided what was the best - one that was good for sound proofing, a fire break, and allergens. He also did all the heavy lifting and stapled it into place.

Installing the Woodwork
Finally, I got to start installing the woodwork. When we purchased our house, it had the pre-primed fake looking trim nailed and, in some cases, glued in place. Not only was the trim way too small in scale for the period of the house, but it was of such an inferior quality. This may have been due in part to the original installation of the pre-primed boards that were never painted. When I washed them the first time, they turned a nasty dingy gray. And that first super hot and humid summer saw the glued pieces fall of the wall - literally. Anyway, we have been planning to replace the woodwork for years, based on some of the wood we found hidden on the second floor and our research of bungalows, particularly the Craftsman style.
We purchased a selection of 1 x 8 open stock boards (baseboard), quarter round (toe kick), and chair railing. We also purchased 1 x 6, 1 x 4, 1 x 3, and 1 x 2 open stock boards to create our board and batten following some general instructions we found online. The first step was to wipe each board and trim piece with our favorite stain. Yep, you guessed it - red walnut.
The dear hubby had an emergency call and so my 12-year old son was voluntold to give me a helping hand. Together, we installed the baseboard (1 x 8), the quarter round (toe kick), the chair rail, and the 1 x 6 (under the chair rail). We had a lot of fun using the new compound miter saw and pneumatic electric nail gun!


Moving Forward
Here is the list of things to do to finish the living room:
- Wood putty floor cracks
- Wood putty all wall trim pieces
- Install wood trim to upper portion of windows
- Apply second coat of stain to window trim pieces
- Apply second coat of stain to wall trim pieces
- Apply second coat of stain to window trim
- Seal with polyurethane all trim (1, 2, 3, and 4 coats)
- Seal the floor with polyurethane (5th coat)
- Paint upper wall
- Build built-in bookcases for third wall, to surround wall mounted television
- Build built-in bookcases for room divider and support (fourth wall)
- Install plywood ceiling
- Install tin ceiling
- Caulk tin ceiling
- Install crown moulding baseboard
- Install crown moulding
- Replace current light fixture with track lighting
No comments:
Post a Comment